GitHub SSH 인증키 연결하기
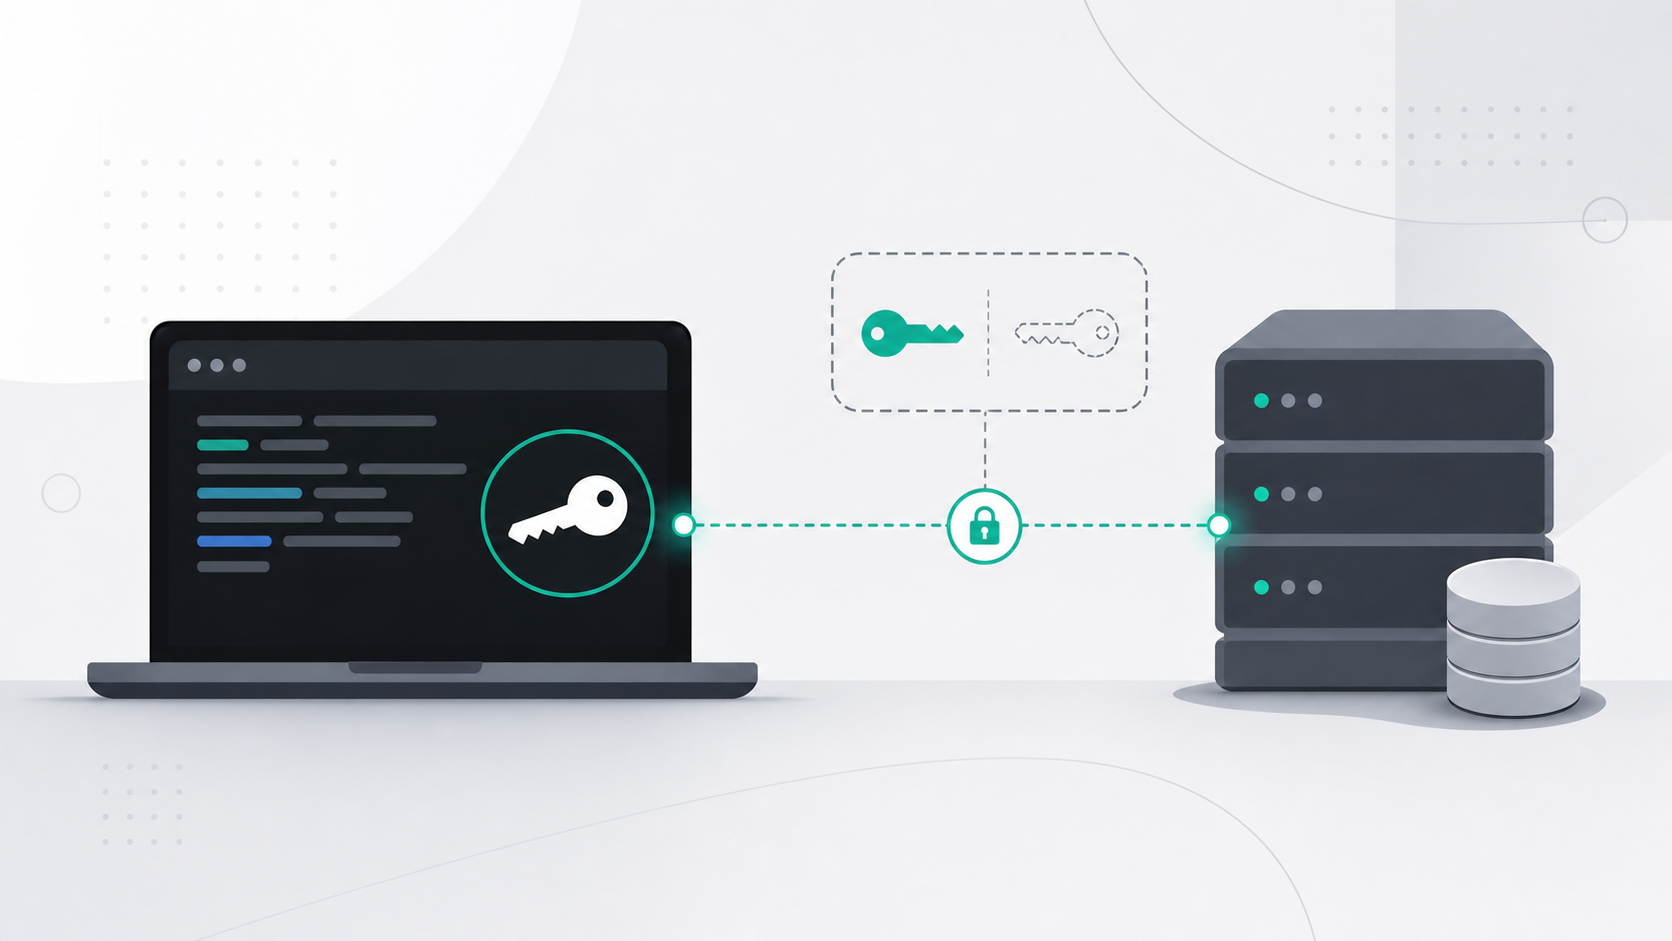
GitHub에 SSH 인증키를 연결하면 git push나 git pull을 실행할 때마다 아이디와 비밀번호를 입력하지 않아도 된다. 전체 흐름은 로컬에서 키를 만들고, SSH agent에 등록한 뒤, 공개키를 GitHub에 추가하고 연결을 테스트하는 순서다.
1. SSH 키 생성
먼저 내 컴퓨터에서 비밀키와 공개키 쌍을 생성한다.
ssh-keygen -t ed25519 -C "your_email@example.com"기본 파일 경로를 사용하려면 저장 위치 질문에서 Enter를 누른다. Passphrase는 선택 사항이지만, 보안을 위해 설정하는 것이 좋다.
생성된 주요 파일은 다음과 같다.
~/.ssh/id_ed25519      # private key
~/.ssh/id_ed25519.pub  # public key
비밀키는 절대 공유하지 않고, GitHub에는 공개키만 등록한다.
2. SSH Agent에 키 등록
매번 passphrase를 입력하지 않도록 ssh-agent에 키를 등록한다.
eval "$(ssh-agent -s)"
ssh-add ~/.ssh/id_ed25519
등록된 키는 다음 명령으로 확인할 수 있다.
ssh-add -l3. GitHub에 공개키 등록
GitHub CLI를 사용할 수 있다면 아래 명령이 가장 빠르다.
gh ssh-key add ~/.ssh/id_ed25519.pub --title "My-Laptop"수동으로 등록하려면 공개키 내용을 복사한다.
cat ~/.ssh/id_ed25519.pub그다음 GitHub의 Settings > SSH and GPG keys > New SSH key로 이동해 공개키를 붙여넣는다.
4. 연결 테스트
GitHub SSH 연결이 정상인지 확인한다.
ssh -T git@github.com성공하면 다음과 비슷한 메시지가 나온다.
Hi username! You've successfully authenticated, but GitHub does not provide shell access.인증 성공 메시지가 보이면 SSH 키 연결은 정상이다. GitHub는 SSH shell 접속을 제공하지 않으므로 shell access 관련 안내가 함께 나오는 것은 오류가 아니다.
5. 기존 저장소 원격 주소 변경
이미 HTTPS 주소로 연결된 로컬 저장소라면 원격 주소를 SSH 형식으로 바꾼다.
git remote set-url origin git@github.com:username/repository.git변경 결과는 다음 명령으로 확인한다.
git remote -v요약
| 단계 | 작업 | 명령 |
|---|---|---|
| 1 | 키 생성 | ssh-keygen -t ed25519 -C "your_email@example.com" |
| 2 | Agent 등록 | eval "$(ssh-agent -s)", ssh-add ~/.ssh/id_ed25519 |
| 3 | GitHub 등록 | gh ssh-key add ~/.ssh/id_ed25519.pub --title "My-Laptop" |
| 4 | 연결 확인 | ssh -T git@github.com |
| 5 | 원격 주소 변경 | git remote set-url origin git@github.com:username/repository.git |
When you connect an SSH authentication key to GitHub, you no longer need to enter your username and password every time you run git push or git pull. The overall flow is to create a key locally, register it with the SSH agent, add the public key to GitHub, and test the connection.
1. Generate an SSH Key
First, create a private/public key pair on your computer.
ssh-keygen -t ed25519 -C "your_email@example.com"
To use the default file path, press Enter when asked where to save the key. The passphrase is optional, but setting one is recommended for security.
The main generated files are:
~/.ssh/id_ed25519      # private key
~/.ssh/id_ed25519.pub  # public key
Never share the private key. Only register the public key with GitHub.
2. Register the Key with SSH Agent
Register the key with ssh-agent so you do not need to enter the passphrase every time.
eval "$(ssh-agent -s)"
ssh-add ~/.ssh/id_ed25519
You can check registered keys with this command:
ssh-add -l
3. Add the Public Key to GitHub
If you can use GitHub CLI, this command is the fastest option.
gh ssh-key add ~/.ssh/id_ed25519.pub --title "My-Laptop"
To add it manually, copy the public key content.
cat ~/.ssh/id_ed25519.pub
Then go to GitHub's Settings > SSH and GPG keys > New SSH key and paste the public key.
4. Test the Connection
Check whether the GitHub SSH connection works correctly.
ssh -T git@github.com
If it succeeds, you will see a message similar to this:
Hi username! You've successfully authenticated, but GitHub does not provide shell access.
If you see the authentication success message, the SSH key connection is working. GitHub does not provide SSH shell access, so the shell access notice is not an error.
5. Change the Remote URL for an Existing Repository
If a local repository is already connected with an HTTPS URL, change the remote URL to the SSH format.
git remote set-url origin git@github.com:username/repository.git
Check the result with this command:
git remote -v
Summary
| Step | Task | Command |
|---|---|---|
| 1 | Generate key | ssh-keygen -t ed25519 -C "your_email@example.com" |
| 2 | Register with agent | eval "$(ssh-agent -s)", ssh-add ~/.ssh/id_ed25519 |
| 3 | Add to GitHub | gh ssh-key add ~/.ssh/id_ed25519.pub --title "My-Laptop" |
| 4 | Test connection | ssh -T git@github.com |
| 5 | Change remote URL | git remote set-url origin git@github.com:username/repository.git |
将 SSH 认证密钥连接到 GitHub 后,执行 git push 或 git pull 时就不需要每次输入用户名和密码。整体流程是:在本地创建密钥,将密钥注册到 SSH agent,把公钥添加到 GitHub,然后测试连接。
1. 生成 SSH 密钥
首先,在自己的电脑上生成一对私钥和公钥。
ssh-keygen -t ed25519 -C "your_email@example.com"
如果要使用默认文件路径,在询问保存位置时按 Enter。Passphrase 是可选项,但为了安全,建议设置。
生成的主要文件如下。
~/.ssh/id_ed25519      # private key
~/.ssh/id_ed25519.pub  # public key
私钥绝对不要共享。只需要把公钥注册到 GitHub。
2. 将密钥注册到 SSH Agent
为了避免每次输入 passphrase,将密钥注册到 ssh-agent。
eval "$(ssh-agent -s)"
ssh-add ~/.ssh/id_ed25519
可以用下面的命令确认已注册的密钥。
ssh-add -l
3. 在 GitHub 中注册公钥
如果可以使用 GitHub CLI,下面的命令最快。
gh ssh-key add ~/.ssh/id_ed25519.pub --title "My-Laptop"
如果要手动注册,先复制公钥内容。
cat ~/.ssh/id_ed25519.pub
然后进入 GitHub 的 Settings > SSH and GPG keys > New SSH key,粘贴公钥。
4. 测试连接
确认 GitHub SSH 连接是否正常。
ssh -T git@github.com
成功后会看到类似下面的消息。
Hi username! You've successfully authenticated, but GitHub does not provide shell access.
如果看到认证成功消息,说明 SSH 密钥连接正常。GitHub 不提供 SSH shell 访问,因此同时出现 shell access 相关说明并不是错误。
5. 修改已有仓库的远程地址
如果本地仓库已经连接到 HTTPS 地址,可以把远程地址改成 SSH 格式。
git remote set-url origin git@github.com:username/repository.git
用下面的命令确认修改结果。
git remote -v
总结
| 步骤 | 操作 | 命令 |
|---|---|---|
| 1 | 生成密钥 | ssh-keygen -t ed25519 -C "your_email@example.com" |
| 2 | 注册到 Agent | eval "$(ssh-agent -s)", ssh-add ~/.ssh/id_ed25519 |
| 3 | 注册到 GitHub | gh ssh-key add ~/.ssh/id_ed25519.pub --title "My-Laptop" |
| 4 | 确认连接 | ssh -T git@github.com |
| 5 | 修改远程地址 | git remote set-url origin git@github.com:username/repository.git |
GitHub に SSH 認証キーを接続すると、git push や git pull を実行するたびにユーザー名とパスワードを入力する必要がなくなる。全体の流れは、ローカルでキーを作成し、SSH agent に登録し、公開キーを GitHub に追加して、接続をテストする順序になる。
1. SSH キーを生成する
まず、自分のコンピューターで秘密キーと公開キーのペアを生成する。
ssh-keygen -t ed25519 -C "your_email@example.com"
デフォルトのファイルパスを使う場合は、保存場所を聞かれたところで Enter を押す。Passphrase は任意だが、セキュリティのため設定しておくのがおすすめだ。
生成される主なファイルは次のとおり。
~/.ssh/id_ed25519      # private key
~/.ssh/id_ed25519.pub  # public key
秘密キーは絶対に共有せず、GitHub には公開キーだけを登録する。
2. SSH Agent にキーを登録する
毎回 passphrase を入力しなくて済むように、ssh-agent にキーを登録する。
eval "$(ssh-agent -s)"
ssh-add ~/.ssh/id_ed25519
登録されたキーは次のコマンドで確認できる。
ssh-add -l
3. GitHub に公開キーを登録する
GitHub CLI を使える場合は、次のコマンドが一番早い。
gh ssh-key add ~/.ssh/id_ed25519.pub --title "My-Laptop"
手動で登録する場合は、公開キーの内容をコピーする。
cat ~/.ssh/id_ed25519.pub
その後、GitHub の Settings > SSH and GPG keys > New SSH key に移動し、公開キーを貼り付ける。
4. 接続をテストする
GitHub SSH 接続が正常か確認する。
ssh -T git@github.com
成功すると、次のようなメッセージが表示される。
Hi username! You've successfully authenticated, but GitHub does not provide shell access.
認証成功メッセージが表示されれば、SSH キーの接続は正常だ。GitHub は SSH shell 接続を提供していないため、shell access に関する案内が一緒に表示されてもエラーではない。
5. 既存リポジトリのリモート URL を変更する
すでに HTTPS URL で接続されているローカルリポジトリの場合は、リモート URL を SSH 形式に変更する。
git remote set-url origin git@github.com:username/repository.git
変更結果は次のコマンドで確認する。
git remote -v
まとめ
| ステップ | 作業 | コマンド |
|---|---|---|
| 1 | キー生成 | ssh-keygen -t ed25519 -C "your_email@example.com" |
| 2 | Agent 登録 | eval "$(ssh-agent -s)", ssh-add ~/.ssh/id_ed25519 |
| 3 | GitHub 登録 | gh ssh-key add ~/.ssh/id_ed25519.pub --title "My-Laptop" |
| 4 | 接続確認 | ssh -T git@github.com |
| 5 | リモート URL 変更 | git remote set-url origin git@github.com:username/repository.git |
Cuando conectas una clave de autenticación SSH a GitHub, no necesitas introducir usuario y contraseña cada vez que ejecutas git push o git pull. El flujo completo consiste en crear una clave localmente, registrarla en el SSH agent, añadir la clave pública a GitHub y probar la conexión.
1. Generar una clave SSH
Primero, crea un par de clave privada y clave pública en tu computadora.
ssh-keygen -t ed25519 -C "your_email@example.com"
Para usar la ruta de archivo predeterminada, presiona Enter cuando se pregunte dónde guardar la clave. La passphrase es opcional, pero se recomienda configurarla por seguridad.
Los archivos principales generados son los siguientes.
~/.ssh/id_ed25519      # private key
~/.ssh/id_ed25519.pub  # public key
No compartas nunca la clave privada. En GitHub solo se registra la clave pública.
2. Registrar la clave en SSH Agent
Registra la clave en ssh-agent para no introducir la passphrase cada vez.
eval "$(ssh-agent -s)"
ssh-add ~/.ssh/id_ed25519
Puedes comprobar las claves registradas con este comando.
ssh-add -l
3. Registrar la clave pública en GitHub
Si puedes usar GitHub CLI, el siguiente comando es la opción más rápida.
gh ssh-key add ~/.ssh/id_ed25519.pub --title "My-Laptop"
Para registrarla manualmente, copia el contenido de la clave pública.
cat ~/.ssh/id_ed25519.pub
Después ve a Settings > SSH and GPG keys > New SSH key en GitHub y pega la clave pública.
4. Probar la conexión
Comprueba si la conexión SSH con GitHub funciona correctamente.
ssh -T git@github.com
Si funciona, verás un mensaje parecido a este.
Hi username! You've successfully authenticated, but GitHub does not provide shell access.
Si aparece el mensaje de autenticación correcta, la conexión de la clave SSH está funcionando. GitHub no ofrece acceso SSH shell, así que el aviso sobre shell access no es un error.
5. Cambiar la URL remota de un repositorio existente
Si un repositorio local ya está conectado con una URL HTTPS, cambia la URL remota al formato SSH.
git remote set-url origin git@github.com:username/repository.git
Comprueba el resultado con este comando.
git remote -v
Resumen
| Paso | Tarea | Comando |
|---|---|---|
| 1 | Generar clave | ssh-keygen -t ed25519 -C "your_email@example.com" |
| 2 | Registrar en Agent | eval "$(ssh-agent -s)", ssh-add ~/.ssh/id_ed25519 |
| 3 | Registrar en GitHub | gh ssh-key add ~/.ssh/id_ed25519.pub --title "My-Laptop" |
| 4 | Comprobar conexión | ssh -T git@github.com |
| 5 | Cambiar URL remota | git remote set-url origin git@github.com:username/repository.git |